Navigating and Surviving Our Airstream Maiden Voyage
Introducing Ty Arian (The Silver House)
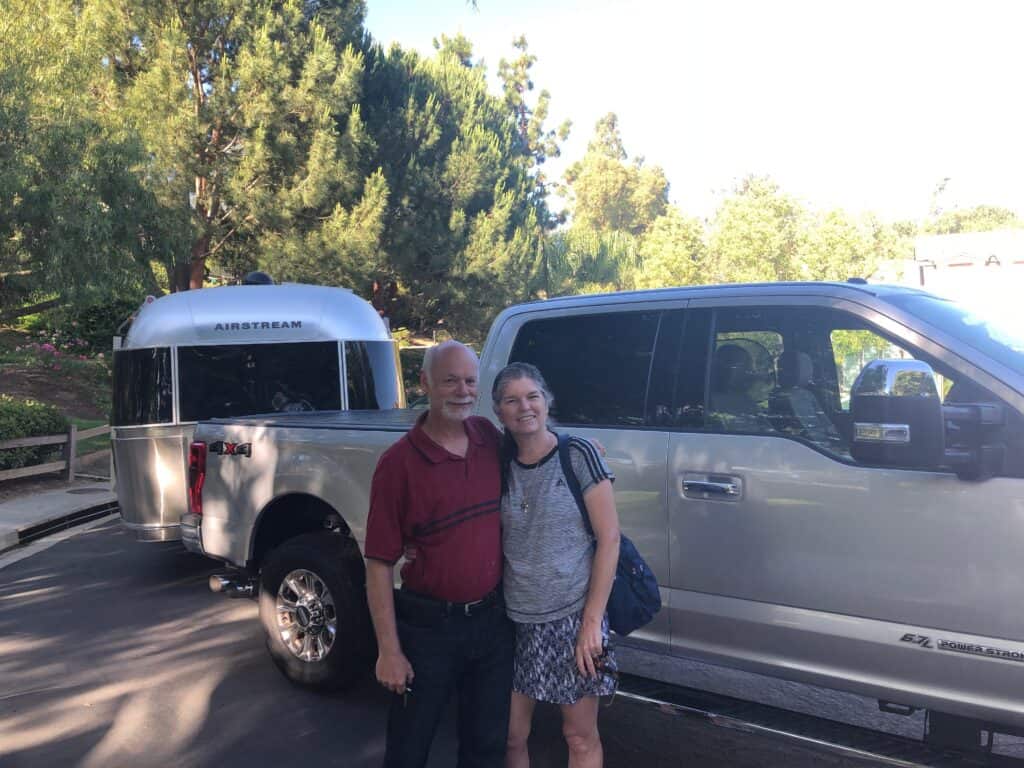
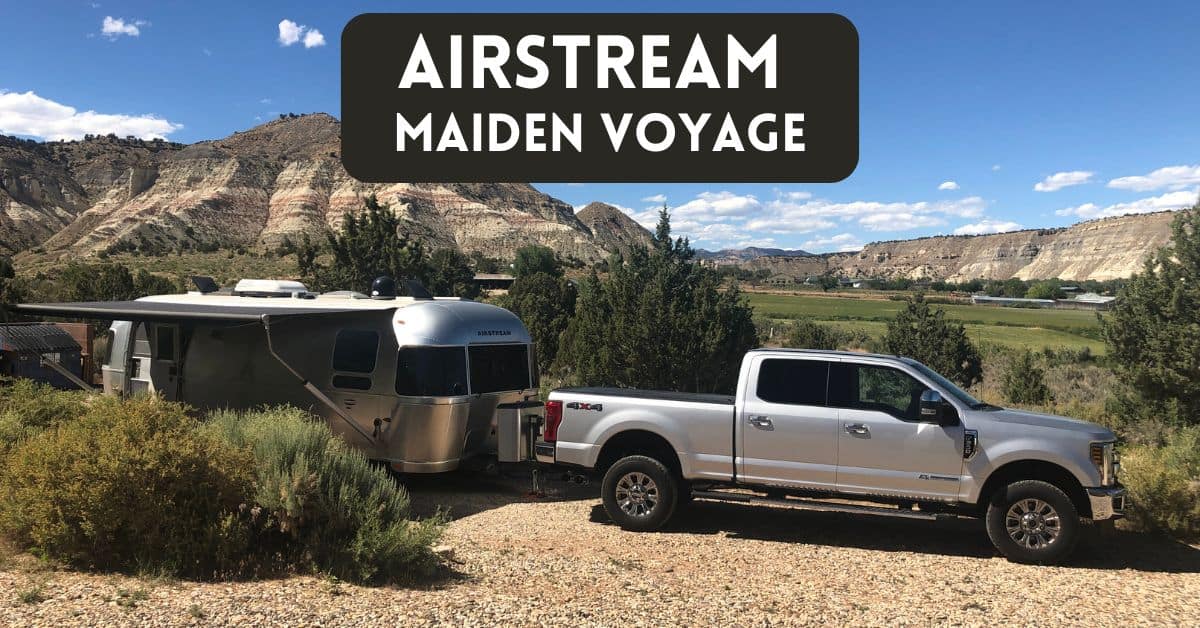
We equipped ourselves with a truck a couple of years ago to someday pull a towable behind us. Before long, we added a travel trailer to ride behind our Ford F250 and were ready for our Airstream maiden voyage. Our Airstream is a 2014 27-foot International Signature model. We purchased from A to Z Motors in Winters, California with a superb buying experience provided by Vince Cardinale. And given a strong Welsh family roots connection on Julie’s side, we named our silver beauty with an affectionate Welsh moniker.
The Places Where We Go contains affiliate links and is a member of the Amazon Services LLC Associates Program. As an Amazon Associate, we earn from qualifying purchases at no extra cost to you when you purchase using one of these Amazon links. Read our disclaimer and privacy policy for more information.
Get Free Weekly Travel News Updates

First-time RV Travel Apprehensions
Being new to RV travel, there were many things we didn’t know. And we knew there were additional things we didn’t know that we didn’t know. This was a recipe for a bit of a stressful first-time experience as RV newbies.
Among our first-time RV travel apprehensions:
- Hitching process – will the trailer fall off the ball?
- Hookup process – will we know how to hook everything to the trailer?
- Sewer hookup – you can imagine this could be a pretty messy process. Would we succeed in keeping ourselves clean of muck?
- Long-distance towing – Could we handle this, and what would our limits be for time and distance per day?
- Backing up—As this process is backward from normal with a trailer, will we be able to back up the rig properly?
- Tire quality – we’ve seen the horror stories of “China bombs.” Will our tires hold up on the road?
Getting Ready For The Maiden Voyage
We did several things to prepare for our first trip:
- Camping with friends in their RV before ever purchasing our rig
- Booking an overnighter at a permanently set up Airstream to feel out in a travel trailer without a slide. We did this at Flying Flags RV Resort in Buellton, California (SP and Links)
- Research, research, research
- RV Show visits
- Checklist development
- Initial Outfitting of the Airstream: Bedding, towels, food storage, cleaning supplies, tool kit, connectors (surge protector, AC cords, water and sewer hoses, etc.)
- RV Apps – we currently are using several, including Allstays, Campendium, RV Life, RV Parky
- Backup camera installation in the Airstream – an absolute confidence booster for us while towing the Airstream
- Selecting a hitch. We landed on the Blue Ox and are delighted with its performance.
- YouTube videos on nearly every topic that these newbies didn’t understand
- Tow vehicle. We bought our Ford F250 Diesel a few years before our travel trailer. But knowing the truck would one day tow something (most probably an Airstream), we landed on this model and selected silver (just in case).
Preparing for the Maiden Voyage
The day had come to connect a trailer, and we had questions and some slight apprehensions. Would we get the connections right? Would we feel comfortable driving with a large trailer behind us, much less staying in our highway lane? Could we manage all the hookups without any help?

A day before departure, we spent the day getting the rig ready, supplied, and spruced.
Starting Out Easy
Our first-day drive was planned to take us halfway on our journey, which meant a layover in Las Vegas. On the way, we pulled into a Barstow truck stop to refuel. We made it in and out with no problem. We switched drivers here for the second leg of the journey.

After about 290 miles, we pulled into the Oasis Las Vegas RV Resort. This length felt like a good maximum for one day. Pulling a trailer, at least for us, means going slower than in a car. This type of driving is also more mentally taxing.

The First Night
For night number one, we just needed a place to sleep. So, we booked a pull-through site at the Oasis Las Vegas RV Resort. Our only connections were hooking up the 30-amp electric cord and a water hose. Ten minutes tops, and we were in the rig. (We’ll recap this RV location in a separate post).
The Full Hook Up Experience
On day two, we headed to Cannonville, Utah, just outside Bryce Canyon National Park. The location was also close to Kodachrome Basin State Park and the Grand Staircase-Escalante National Monument. This stay would be at the local KOA – another detailed post will be forthcoming on this location. Here, we did the whole truck disconnecting from the trailer – success!

It’s Like Having Your Home With You on Vacation
One benefit of RV traveling is that your kitchen is always with you. Besides two meals, we prepared breakfasts, lunches, and dinners in the rig, including our food and our way of preparation. As much as we like restaurants, this helped us keep expenses down while eating our favorite camping foods.

Our journey would include yet another stop in Glendale, Utah, at Bauer’s Canyon Ranch RV Park.
Unhitched for Local Explorations
When unhitched from the trailer, our truck would take us to nearby areas for exploration opportunities. The small town of Tropic, Utah, was just one such stop on this trip.

In all, we had three RV locations, all with pull-through sites. We found the hookup process much easier than we had envisioned. Perhaps our homework in advance to prepare checklists for each aspect (initial prep, arrival, and departure) helped us quite a bit.
Time To Departure
We timed how long it would take us from the alarm clock ring until starting the truck to depart when we left Glendale, Utah. With checklists in hand, we wanted to be sure to check the box on each of the steps for a successful departure. Including time for a leisurely breakfast, getting dressed, and our typical morning routine, it took us 2.5 hours until our truck left the parking lot.
Our Newbie Learning Moments
To date, we’ve towed for about 2,000 miles as part of our newbie experience, including trips to Utah and Pismo Beach.
The first thing we learned was that this was a good decision. Traveling in the Airstream feels like there is a piece of home with us during our travels. We learned a few more things to fine-tune these checklists further. Our takeaways as newbie Airstreamers:
Checklists – do your homework in advance for your rig, and follow a checklist to avoid mistakes
Phone a friend – Bring the phone number of someone you can quickly call if and when you have questions. On day one, we called Vince Cardinale from A to Z Motors in Winters, California, with a couple of questions. He was super helpful and eased our newbie’s nerves.
Black colored water, why? – We had a short-lived concern when we turned on the water and started to see black water. Oh, oh, was there a sewer issue? We quickly deduced that our vast and utterly brand-new water filter was the culprit here. The initial charcoal coloring is typical and similar to changing our water filter at home.
Drawers – Be very careful regarding how much weight you put into sliding drawers that have thin bottoms. Our rig had a drawer under one of the dinette seats with a very thin bottom. We loaded this drawer with bottles of water and flavored drinks. Unfortunately, the load was too heavy, and we are now responsible for fixing a broken drawer 🙁
Set Driving Limits – After logging nearly our first 1,800 towing miles, we have landed at roughly 250 miles daily as a good maximum.
Saving Money on Food – We save money on food as we prepare most meals in our trailer.
Additional learning moments:
- Driving limits: We are comfortable at 4 to 5 hours maximum per day, about 240 to 300 miles. Towing a trailer is significantly more mentally taxing for us, so we’ll take it slower and shorter distances than our typical car road trips.
- YouTube videos: We continue watching the experiences of others to keep learning – there’s a lot to know.
- Make your own videos: When we purchased our Airstream at A to Z Motors, we filmed Vince Cardinale as he explained all the features inside and outside our rig. Re-watching these clips before our first trip (several months after our purchase) was immensely helpful in refreshing our memory of how to use our rig.
- Route research: The app RV Life has proven useful for finding roads that are best for our specific rig. Waze and Google Maps might steer you on a road that isn’t optimal for your RV rig.
- Go slow. We’re traveling on average 55 to 60 miles per hour. Slow, steady, and safe.
- Planning ahead for fuel stations. We research maps via our RV apps to find out where Truck stops are located on our routes. This ensures we can fuel up at places where we can easily maneuver our rig.
- Fuel up when unhitched. When we arrive at a location, we’ll fill up the truck before our next hitching cycle. This helps us avoid problematic fuel stops.
- Checklists still need to be refined. We take these on each trip and are still finding opportunities to update them. It will probably take us a few more trips to get our lists fine-tuned for our situation. Still, the checklists are helping us not forget important parts of the RV process.
Closing Thoughts – Airstream Maiden Voyage
We hope this article inspired you to take your own Airstream maiden voyage and create memories in your new travel trailer. While some challenges and lessons may be learned along the way, the experience is truly unforgettable. So pack up your essentials, hit the road, and embrace the freedom of traveling in an Airstream. Happy travels!
Podcast Episode – Airstream Maiden Voyage Experience
#Airstream #MaidenVoyage #TravelTrailer #AdventureAwaits


